Importing an Application from Git in Syntasa
Syntasa enables teams to import complete application definitions (Dataflows) directly from an external Git repository. This capability is critical for promoting applications across environments—such as Development, UAT, and Production—and for restoring applications from a version-controlled source.
When importing an application from Git, Syntasa reads the application’s JSON definition from the selected repository and reconstructs the workflow canvas. This includes all processors, configurations, metadata, and node mappings, ensuring the application is recreated accurately in the target environment.
Prerequisites
Before importing an application, ensure the following prerequisites are met:
-
A Git Repository Connection is configured in Syntasa.
-
Navigate to Resources → Connections and verify that:
- A connection exists for the repository containing the application.
- The connection status is Verified.
-
Use the Test Repo option to confirm access to repository branches and file paths.
Note: Importing will fail if the Git connection cannot access the repository or branch.
Importing an Application from Git
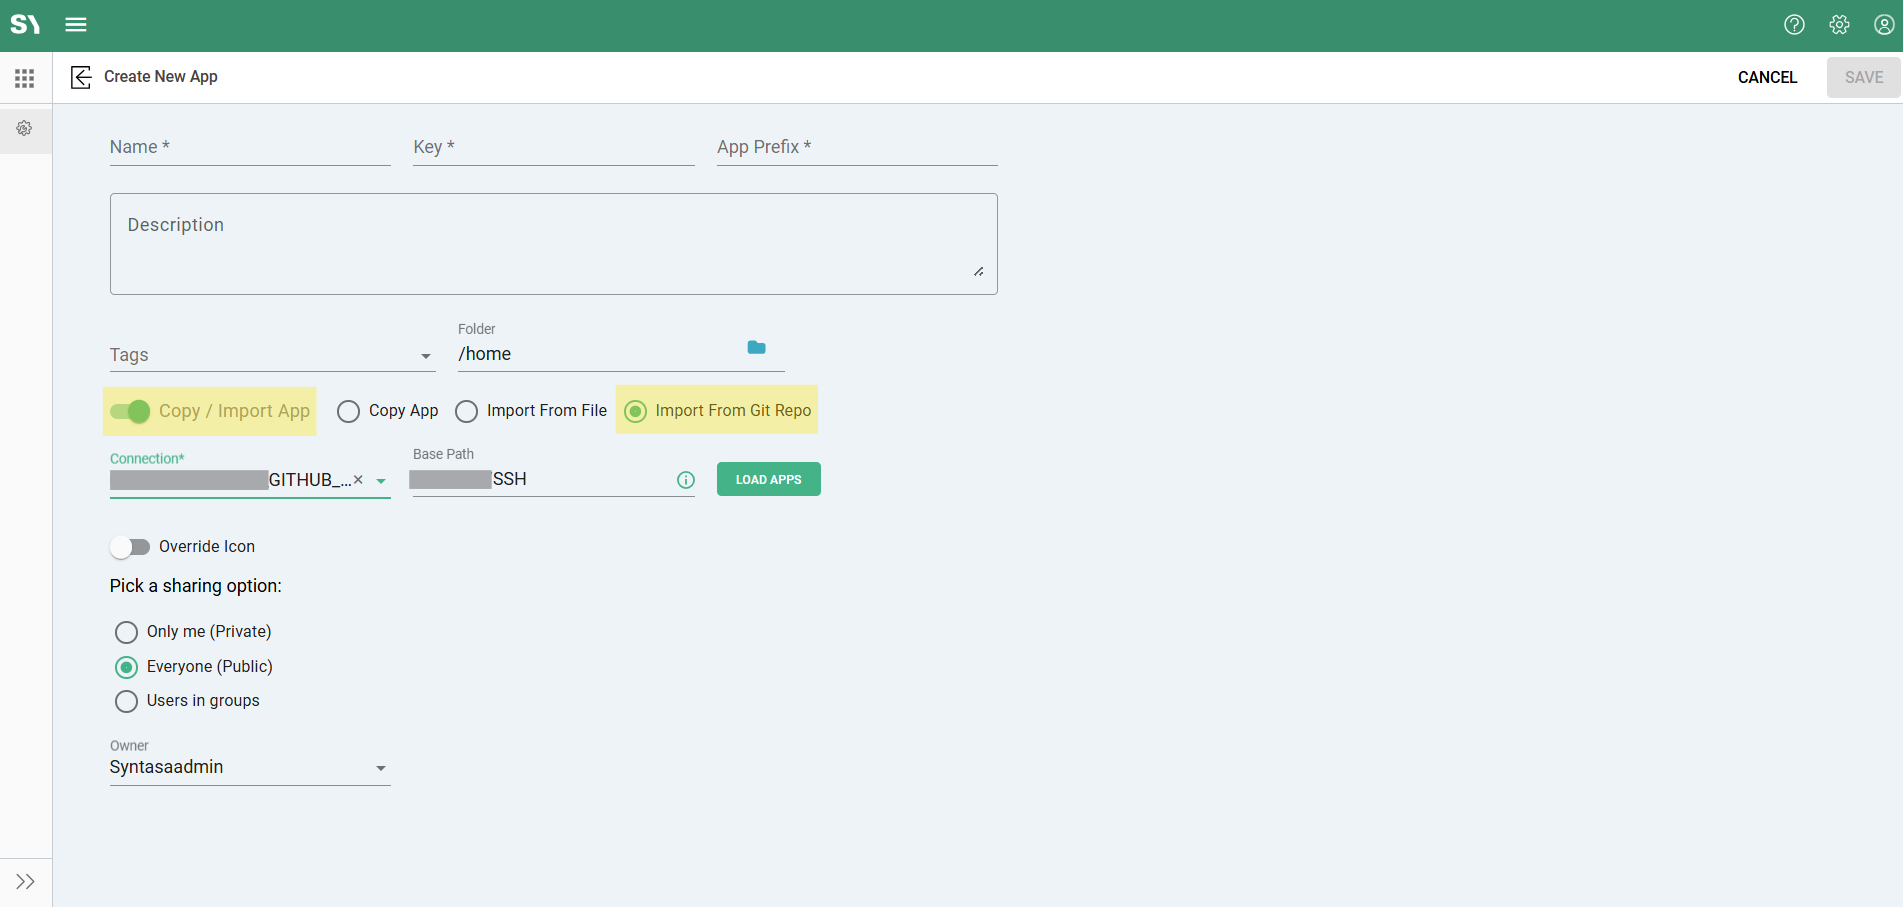
Step 1: Initiate the Import
-
Navigate to the Apps Creation Screen
-
Fill all mandatory and required field e.g. Name
-
Enable Import App Toggle.
-
Select Import from Git Repo.
Step 2: Select the Source Repository
-
Git Connection
Choose a verified Git Repository Connection. -
Branch
Select the branch containing the application definition.- The default branch configured in the connection is preselected.
- Any accessible branch can be selected.
-
Base Path (Optional)
Specify a subdirectory if applications are stored in a specific folder (for example,/deployments/apps/).
Step 3: Select the Application Definition
- Click Scan Repository (or allow the list to auto-populate).
- Syntasa scans the selected branch and path for valid
.jsonapplication definitions. - Select the application you want to import from the discovered list.
Step 4: Configure Import Settings
-
App Name
Retain the original name or provide a new name for the application in the target environment. -
Project Assignment
Assign the imported application to an existing Syntasa Project. -
Conflict Resolution
If an application with the same name already exists:- Overwrite the existing application, or
- Create a new version.
Step 5: Finalize the Import
Click Import to complete the process.
Syntasa retrieves the application definition, validates it against the target environment, and opens the application on the Workflow Canvas.
What Happens During the Import?
- Resource Mapping
Syntasa attempts to automatically map resources defined in Git (such as compute clusters or data connections) to resources available in the target environment. Exact name matches are linked automatically. - Validation Checks
Each processor is validated. If required configurations are missing or incompatible, affected nodes are flagged with warning indicators on the canvas. - Metadata Preservation
Documentation notes, node positions, custom labels, and canvas layout are preserved during the import.
Troubleshooting
| Issue | Possible Cause | Resolution |
|---|---|---|
| No applications found | Incorrect branch or base path | Verify the .json application file exists in the selected branch and directory |
| Import fails with “Resource Not Found” | Missing connection or resource in target environment | Create the required connection or resource before importing |
| “Invalid Connection” error | Expired or invalid Git token | Update the token under Resources → Connections and re-run Test Repo |
| Nodes show errors after import | Environment configuration mismatch | Open affected nodes and update configurations to match the target environment |
Best Practices
- Standardize Repository Structure
Use consistent folder paths such as/apps/dev/and/apps/prod/to simplify imports and reduce errors. - Use Version Tags
Tag stable releases (for example,v1.0.2) and import from tagged versions rather than directly from the main branch for production deployments. - Review Changes Before Overwriting
When replacing an existing application, review differences using the comparison feature (if available) to avoid unintended changes.